
Last reviewed October 26, 2026.
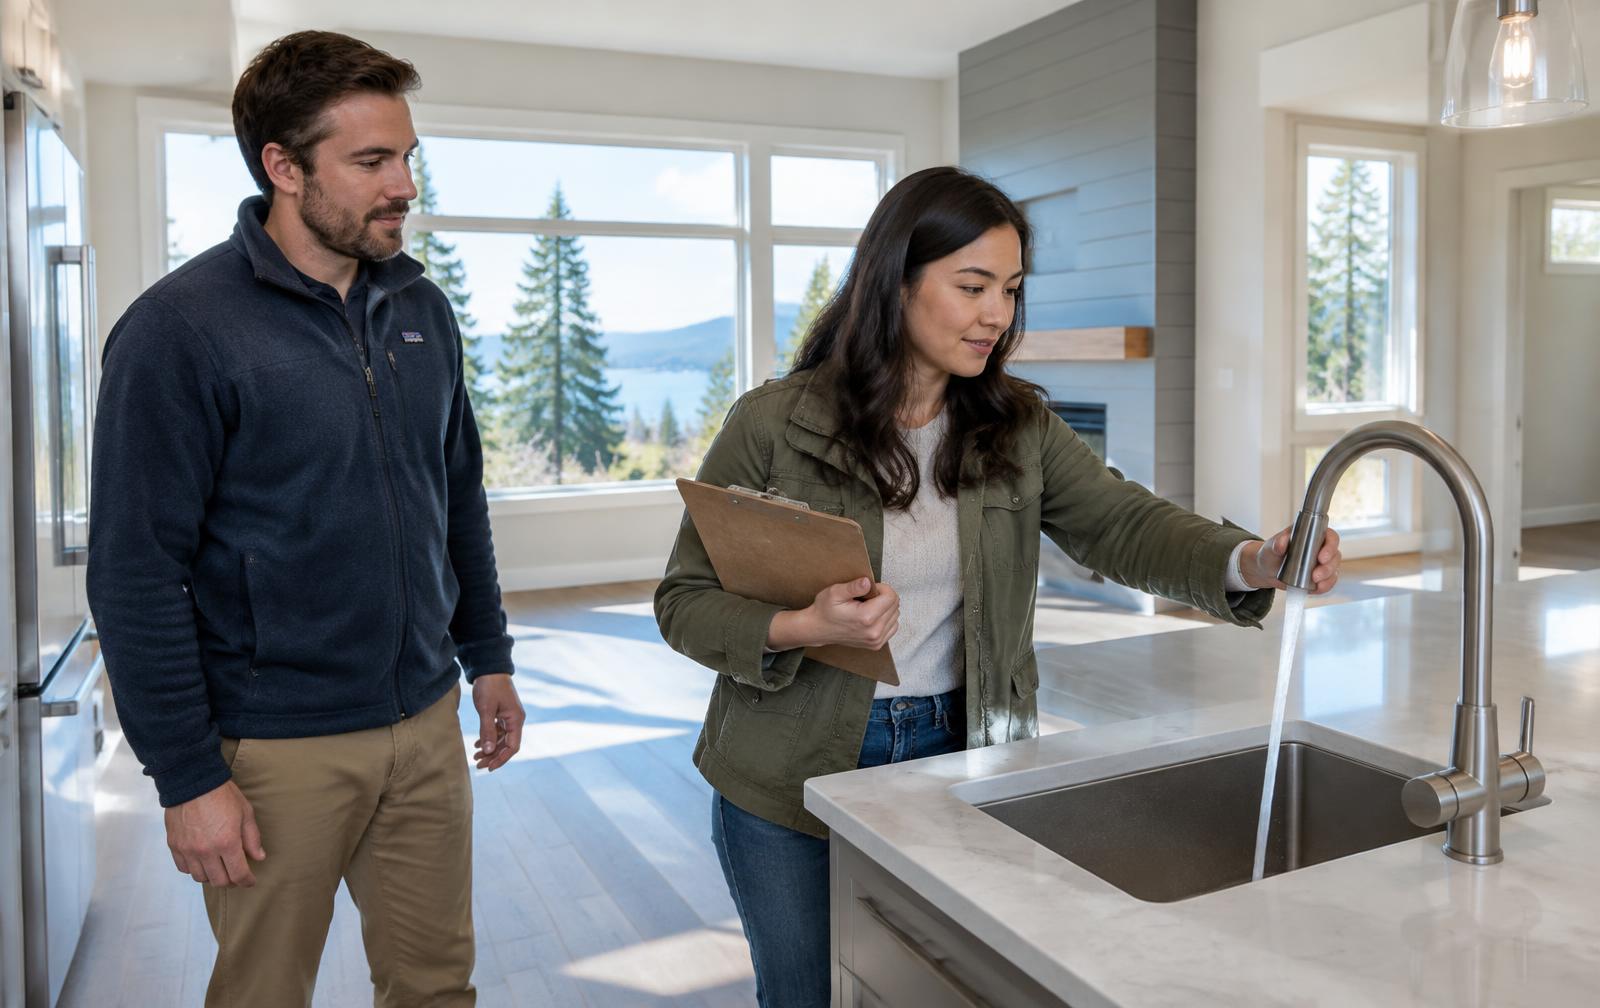
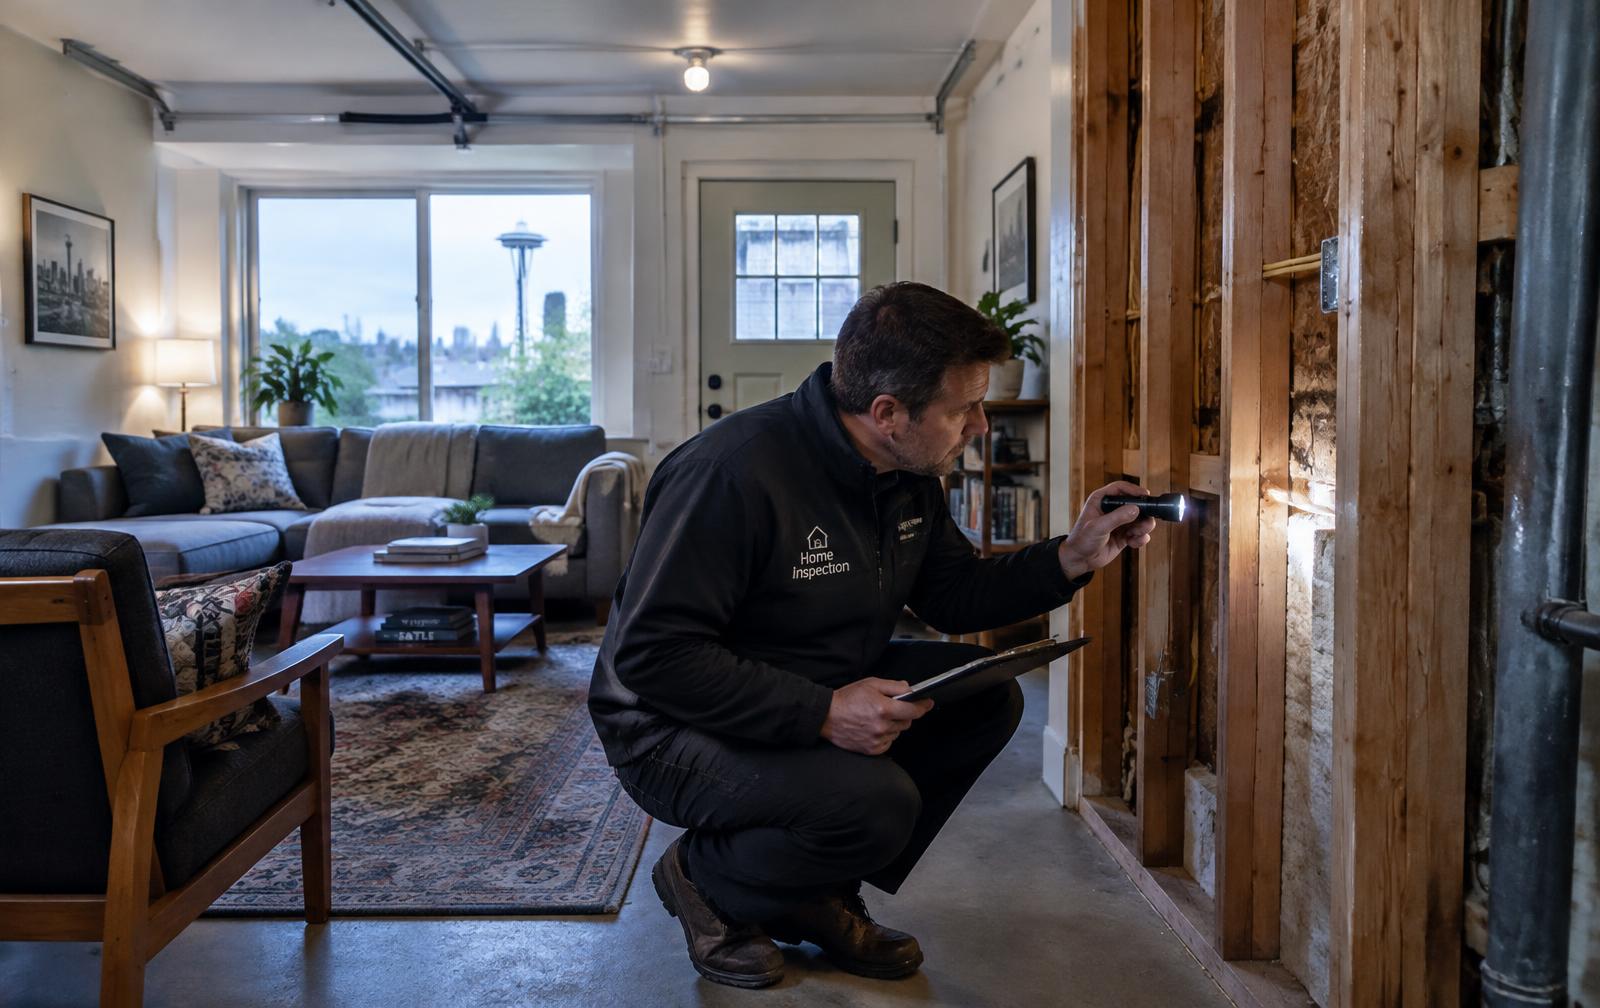
Test fixtures during the walkthrough. AI-generated illustration; not a specific property.
Short answer: The final walkthrough is your chance to confirm the home is in the condition your contract requires, that agreed repairs were completed, that included items are still there, and that major systems work. It is not a second inspection, but problems found now are far easier to resolve before closing than after.
The final walkthrough usually happens shortly before closing, after the seller has moved out or is about to. This guide explains what it is for, what to check room by room, how to verify repairs, and what to do if something is wrong. Your purchase agreement controls the details, so read it with your broker before the walkthrough.
What the walkthrough is for
A walkthrough confirms three things: the home's condition is consistent with what the contract requires, any repairs the seller agreed to are done as described, and items included in the sale are still present. Washington purchase agreements commonly address the property's condition at closing and the buyer's right to inspect before closing; your contract's language is what governs. The walkthrough is not the time to raise new issues that existed at inspection and were not negotiated.
When to schedule it
There is no single legal timing rule. Many buyers schedule the walkthrough within a day or two before closing or before possession, after the seller has moved out, so they see the home empty. If the seller is staying after closing under a rent-back, schedule an additional walkthrough before you take possession. Allow enough time to test systems and check every room.

Room-by-room checklist
| Area | What to check |
|---|---|
| Kitchen | Faucets, garbage disposal, dishwasher, range, oven, refrigerator, vent hood; signs of leaks under the sink |
| Bathrooms | Hot and cold water, toilets flush and stop running, drains, fans, no new stains or leaks |
| Heating and cooling | Furnace or heat pump runs; thermostat responds; water heater produces hot water |
| Electrical | Lights, outlets (bring a small tester), garage door opener, doorbell |
| Doors and windows | Open, close and lock; keys, fobs and openers provided |
| Walls, floors and ceilings | No new damage from the move; no new water stains |
| Basement or crawl space access | No standing water or new moisture |
| Exterior | Yard, gutters, irrigation if included, no debris or left-behind items unless agreed |
| Included items | Appliances, fixtures, window coverings and anything listed in the contract |
Verifying agreed repairs
If the seller agreed to repairs after inspection, ask in advance for invoices, receipts, warranties and, where work required a permit, proof of final inspection. Compare the work to the written repair agreement, not to memory. If a licensed contractor was required by the agreement, check that the invoice shows one. When in doubt, ask your inspector to return for a re-inspection of specific items before the walkthrough.
New construction walkthroughs
For a new home, the builder usually conducts its own orientation and creates a list of items to complete. Bring your own independent inspector if possible, compare finishes to the contract and selections, and get the builder's warranty and the completion list in writing. Our team's practice is to recommend an independent inspector at the pre-drywall stage as well as at the final walkthrough so defects are documented before closing.
Remote and out-of-state buyers
If you cannot attend, ask your broker for a live, unedited video walkthrough rather than photos, covering each item on your checklist and the street outside. Decide in advance who may sign any walkthrough form on your behalf. Separately, verify wiring instructions by calling the escrow company at a phone number you find independently; never rely on instructions received by email alone. The FBI's IC3 explains how to report suspected wire fraud.
What to bring
- A copy of the purchase agreement and any repair addendum
- The inspection report, to compare repaired items
- Invoices, receipts and warranties for completed repairs
- A phone charger or small device to test outlets
- A flashlight for under sinks, closets and crawl space access
- Your checklist and a way to take dated photos
Having the paperwork with you lets you check repairs against what was agreed, not against memory.
Common walkthrough mistakes
The most common mistake is rushing. Walkthroughs are often scheduled at the end of a busy week, and buyers walk through quickly, then discover problems after closing. Leave enough time. Another is relying on the seller's word that repairs are finished without receipts. A third is treating cosmetic items as major problems while missing functional ones such as a water heater that does not produce hot water. Focus first on systems, water and safety, then on finishes. Finally, avoid raising issues that existed at inspection and were not part of your repair agreement. The walkthrough confirms what was agreed; it is not a new negotiation.
If something is wrong
Document the issue with photos and dates, and tell your broker immediately. Depending on the problem and your contract, options include asking the seller to fix it before closing, negotiating a credit or price adjustment, holding funds in escrow if all parties and the lender agree, or delaying closing. Avoid refusing to close without legal advice, because your earnest money and contract rights are at stake. Small cosmetic issues are often best resolved with a short written agreement rather than a delay.
Frequently asked questions
How long does a final walkthrough take?
It depends on the home's size and how many repairs need checking. Allow enough time to test systems and go through every room rather than rushing.
Can I back out after the final walkthrough?
Your rights depend on your contract and the issue found. Talk with your broker and, where needed, an attorney before taking any step that could put your earnest money at risk.
Is the final walkthrough the same as a home inspection?
No. The inspection evaluates the home's condition before you commit. The walkthrough confirms condition, repairs and included items just before closing.
What if the seller left belongings behind?
Document them and ask your broker to have the seller remove them before closing or agree in writing on how they will be handled.
Sources
- Northwest Multiple Listing Service (forms used by Washington brokers)
- CFPB: Understanding the Closing Disclosure
- FBI Internet Crime Complaint Center (IC3)
This article is general information, not legal, tax or lending advice. Rules and program terms change; confirm details with the relevant professional and the current official source. Last fact-checked October 29, 2026.
About the author
Maggie Sun, Managing Broker, leads Maggie Real Estate Group, a Bellevue-based bilingual (English and Mandarin) team serving buyers, sellers and investors across Seattle and the Eastside.
Related guides
- Final walkthrough checklist for Washington (guide hub)
- Backing out of a home purchase before closing
- Home inspection negotiation in Washington